Thursday, 15 May 2014
first photoshoot
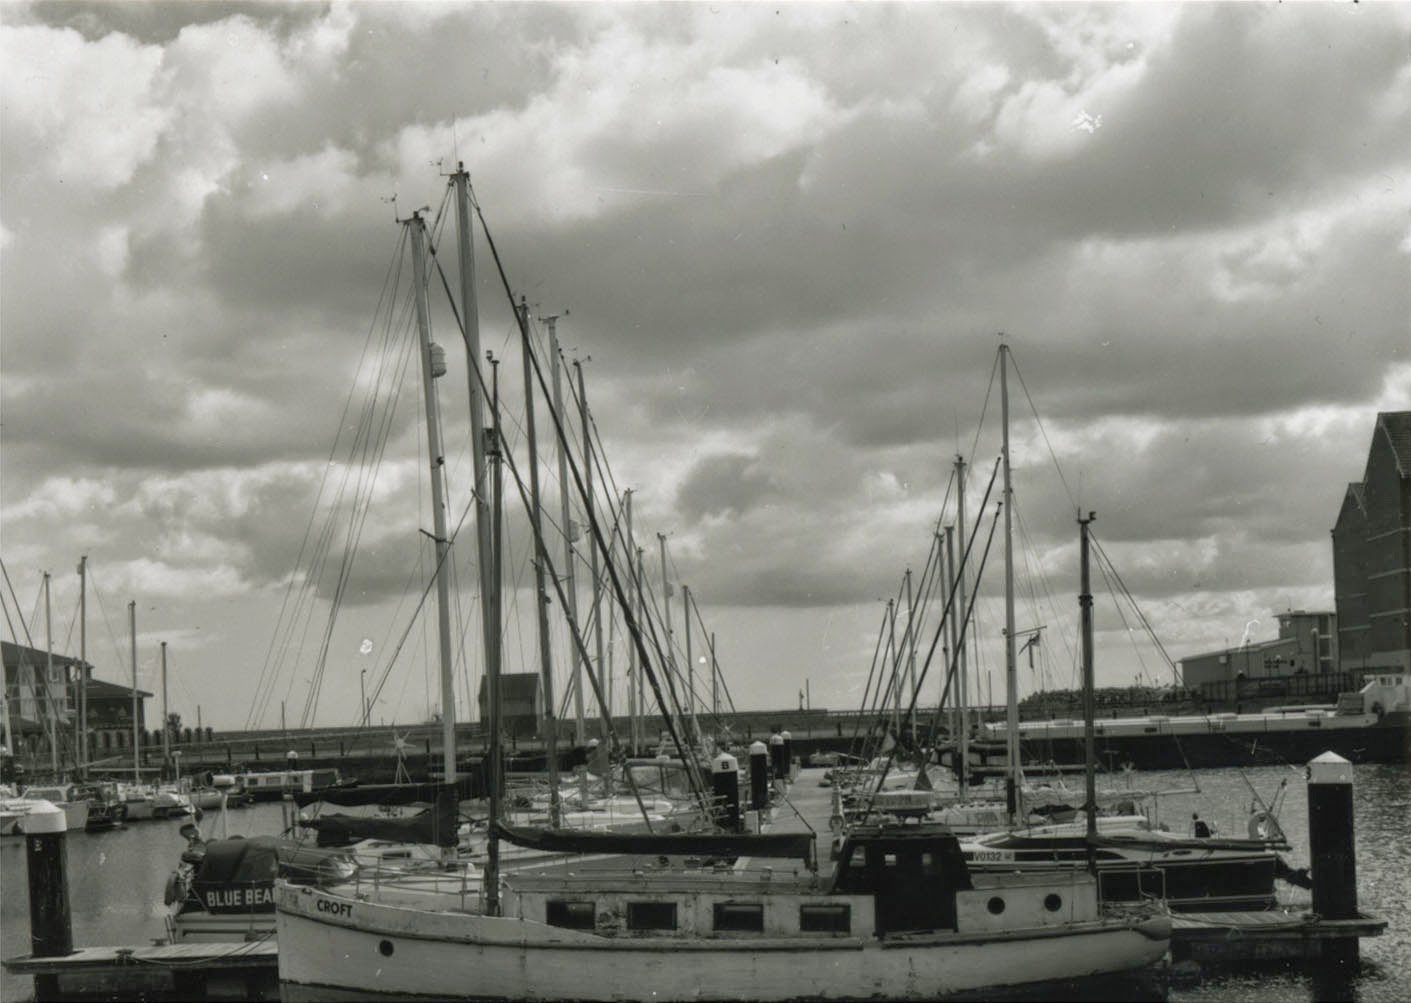
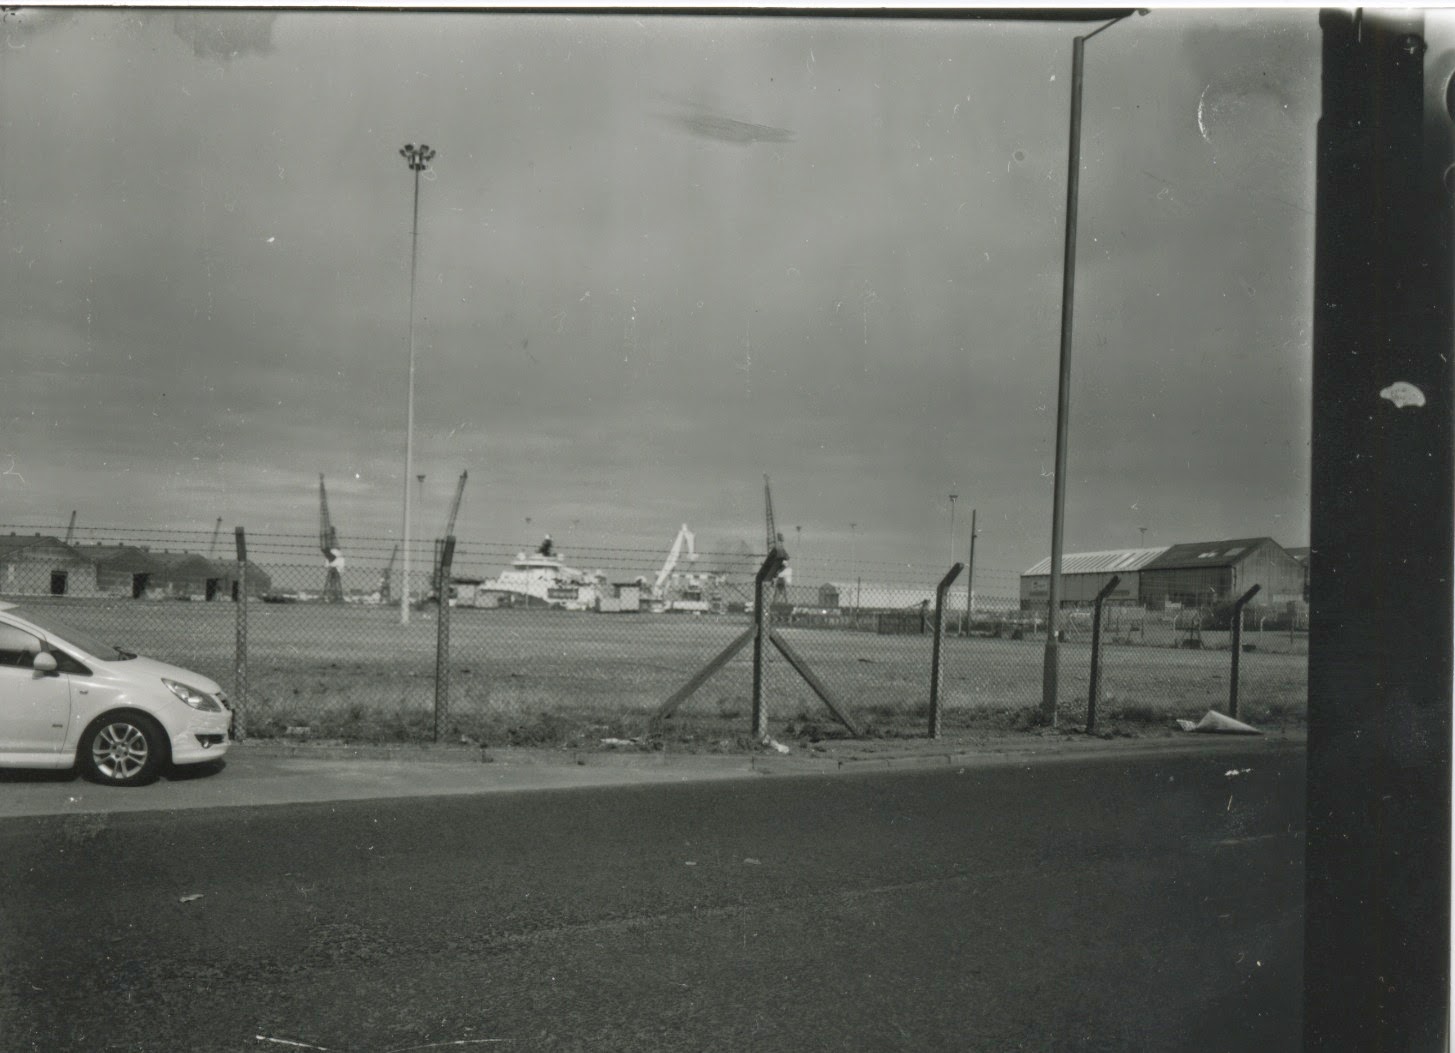
For the first photo shoot i am going to take the camera around the marina areas as this area most intrigues me.
Comparing rural landscape to urban landscape photography
Comparing two types of landscape photography
When i think of landscape i think of vast areas of rural land with little or no man made objects such as houses etc, and for the most part landscape photography is just that, but there is however other types of landscape photography. Such as urban landscape photography.
Rural landscape examples:
Above you can see there is little visible representations of human life, there is vast amounts of greenery and sky/clouds. This images was shot by Nikola Runev.
This is an image by Paul Mannix. I like how there is something close to the screen, right in the foreground, i also like the separation of colours between the golden tones and the greens.
Urban landscape photography examples:
Both of the images bellow were taken by Mike Curry, and the locations were all within Yorkshire.
This images above are of Drax power plant in Yorkshire. There is an obvious mix between man made objects and rural landscapes i really like the strong contrast in both of the image above.
Evaluation
Evaluation
My concept behind the images i captured for this project was to show something that best represents the urban life in Hartlepool, and for me this was always going to be the marina or areas surrounding the marina. Although this may come across like i'm stereotyping Hartlepool and i am well aware of the other attractions around Hartlepool I still felt that the marina played a massive part in a lot of peoples way of life there.
Factors that influenced me whilst deciding what to take photographs of in Hartlepool were a mix of knowledge of the area and what is most known about Hartlepool and having visited Hartlepool marina a lot as a child and always liking that area. I also was not too keen on just getting images of buildings within Hartlepool because having seen a lot of photographers who take urban landscape images take photos of buildings i wanted to capture something different.
I believe my final outcome does meet the requirements of the brief due to the fact it is a urban landscape of the area within Hartlepool. I also believe it isn't the norm picturesque landscape image, the kind of image you think of when thinking of landscapes.
I think if i was to improve my work i would have taken the time to get to know the new equipment a lot more. As i was not familiar with the large format camera we used i felt at the start of my project i didn't capture the best images, therefore if i could go back i would have improved the quality of images i was taking by taking a few days to test run the camera and get used to how it works.
I felt for this project i used a lot more of my own knowledge of hartlepool instead of looking at how other urban landscape photographers photographed urban areas due to the fact i had an idea from the start on what i was looking to achieve.
A new skill that i acquired whilst completing this project was gaining a new understanding for a camera and format i had not previously had the opportunity to experience, also gaining knowledge on a new developing process. Although the process was similar to 35mm it was challenging and insightful.
The most challenging aspect of this project was once again learning how to operate a new camera, and although it was challenging it was useful because it has given me more of an understanding about other cameras and has also given me more camera options when i want shoot some images.
On reflection despite wishing i had taken a few test rung of the camera i am over all extremely happy with my final images. I found that as i used the camera more i captured better images. The last photoshoot i did i captured 3 of the 5 that i wanted to use as my final images, and were by far the best out of the 12 i did take.
Wednesday, 14 May 2014
Dark room process
New dark room process
For the previous film project using 35mm we used the chemical process in trays whilst enlarging, but for this project we used a slightly different process.
Enlarging
Step one
The first step involved us enlarging the images just the same as the previous film project the only difference was that we used a slightly bigger enlarger so that we could achieve the 12x16 prints we wanted for this project.
Chemical process
Step two
The next and final step is the chemical process.
Instead of using the trays containing developer, stop and fix we got to use a machine that does all of the above and also brings the image out dry upon completion. This was a massive time saver although i did miss being able to see the image come to life in front of you. But for this project how convenient and quick the machine is it really helped with this project as taking the photographs themselves involved a long process which in some cases did not leave a whole lot of time for the enlarging process.
Tuesday, 6 May 2014
Last photo shoot
Last photo shoot
Today i went out with Elle. I had a couple more photographs to take until i reached my 10 however, to be certain as i knew my last photographs were not as good as they could be i decided to do 4 instead of 2 and, i am glad i did. I captured some of my best work from the large format camera with this shoot, minus a slight fog on one of my negatives.
The images showed great detail in the clouds and waves in the water, this looked really good when they are printed (as i found out through printing the final contact sheets).
I will scan and upload the finished negatives soon.
Subscribe to:
Comments (Atom)


